5 Tips to Minimize Strain on you HVAC System

5 Tips to Minimize Strain on you HVAC System

  • Cooling
air conditioner repair newburyport

It’s been one hot summer this year. Temperatures have been hitting record highs almost every day. Our neighbors to the south in Boston saw their hottest day in recorded history just the other week. It’s safe to say that your AC is probably getting a workout this summer. That said, it’s important to remember to take it easy on your HVAC system. Overworked and overused ACs can break down and even in some rare instances cause electrical fires. Thankfully, there are some easy and convenient ways to take the strain off your AC system during this unprecedented heat wave.

Run Your Fan 24/7

This is a no-brainer. Short of an HVAC system, a good fan is one of the best ways to keep cool during a heat spell. By turning off the AC for a few hours here and there and supplementing the your cooling efforts with even a simple, cheap box fan from Walmart can keep you cool for a short period of time. While the temperature obviously won’t match the efficacy of the HVAC system, it’ll get the job done while you give AC unit a break for a little bit.

Don’t Turn off The AC When You Go To Work

This may sound counter productive, but hear us out. When you turn off your AC when you go to work, your house warms up dramatically during the day. That means that when you come home, your system has to work that much harder to get it back to a comfortable level. Think of it as a runner falling behind in a footrace: he has to run twice as hard to catch back up. By leaving your system running for eight hours while you’re out, there’s less catch up to do while you’re home. You can compensate this extra use of the AC by keeping it at a lower power or at a higher temperature. Keeping your blinds, curtains and windows closed during the day will help prevent the heat from entering your home and keep it comfortably cool.

Change Your Filters Regularly

Your air conditioner’s filters take harmful particles and bacteria out of the air you breathe. Over time, these filters get dirty and need to be replaced on a regular basis. Without regular changing, the filters decrease the AC’s efficiency and makes it work harder. This leads to more strain and more breakdowns, which is the last thing you need to deal with when the weather is 100+ degrees out there.

Wash the Outdoor Unit

If you have an outdoor unit, it’s going to get dirty. It’s just the nature of it being outside. Dirt, insects, leaves, water, and other forms of debris are all liable to accumulate on the unit over time and it doesn’t take a seasoned HVAC tech to be able to guess that stuff like that has an overall negative impact on your system. Giving it a good wash down every once in a while helps it work at 100%.

Contact North Shore Home Energy Today for the Best in HVAC Work!

Read The Great Things That Your Neighbors Are Saying About NSHEC.

By nshec

Things to Expect When You Get an AC Replacement

Things to Expect When You Get an AC Replacement

  • Cooling
ac replacement

So you’ve decided on an AC replacement. That’s great! A new AC system is a great investment in your family’s comfort and your home’s overall value over time. As with any home improvement project, however, there are a few things you should be expecting as you go through the AC replacement process. In the interest of keeping yourself as informed as possible regarding the status of your system, we’re here to walk you through some things you should be expecting in the coming days.

Area Preparation

Once the technician gives you their initial estimates, the best thing you can do to help the process along is to clear the area where the system will be installed. Clear it of any and all debris or trash. It it’s an outdoor unit make sure the grass around it is properly cut, and if you’re installing an indoor unit like a mini split, make sure the installation area is clear of household furniture or clutter. If there are inordinately heavy objects in the way life sofas, refrigerators, or the like, consider covering them in such a way to protect them from any dust that may result from the installation process.

Know the AC Replacement Lingo

When you’re going through the process of getting a new system, you’ll need to know two terms in particular:

  • Heating Season Performance Factor or HSPF refers to how effective a heat pump is during the heating season. A critical rating to keep in mind if you’re getting a heat pump installed, the industry standard for new products is a minimum rating of 7.7.
  • Seasonal Energy Efficiency Ratio or SEER notes the efficacy of the cooling system. the bare minimum for all new systems is 13.

It’s worthwhile to note that the higher a system is rated for HSPF and SEER, the pricier it will be. However, you do get what you pay for, as these units typically have a much better performance and are longer lived than their cheaper counterparts.

Testing Your New Unit

Once the installation technician has come to your home and completed the installation process, they’ll have to test the new system to make sure it’s up to the task of cooling your home. Numerous tests are conducted to ensure that the pressure and vacuum systems are working before loading the unit with the refrigerant that makes it run. After it’s been filled, another test is carried out to ensure everything is still in working order.

Contact North Shore Home Energy Today for the Best air conditioner replacement in Newburyport and the surrounding area!

Read The Great Things That Your Neighbors Are Saying About NSHEC.

ac failure

By nshec

Air Conditioner Repair in Newburyport

Air Conditioner Repair in Newburyport

  • Cooling
air conditioner repair newburyport

Do you need air conditioner repair in your Newburyport home or business? You’ve come to the right place. North Shore home energy is equipped to handle any ac repair project you have for us. Take one of our most recent customers in Newburyport. This digital marketing company had recently suffered a system failure and had gone several days without any air conditioning whatsoever. With the recent humidity in the area, this was something of a major issue, so we dispatched Donny, one of our expert-level technicians out to resolve their issue quickly.

The Issue

Once we were on the scene, it was a pretty quick, diagnosis: the unit’s compressor had died. These components typically buckle under years of wear and tear, but this one appeared to have some sort of defect from the factory that negatively impacted its performance. After the initial assessment, we came back the following day with a brand new compressor for the outdoor unit, which was itself a little larger than an average unit, due to the fact it was cooling a much larger, commercial office space.

The Job

Once we got back to the site with the appropriate replacement hardware, we got to work replacing the faulty compressor. Donny started by unscrewing the unit, loosening it so that he could easily take off the top and get inside. But before anything else happened, we needed to drain the entire system of all it’s refrigerant as a safety precaution. When it had all been extracted, there was about 33 pounds of refrigerant; for perspective, your home probably only has between five and ten pounds, just to further display the differences between commercial and residential HVAC projects. Once the drain was complete, Donny was able to get into the the unit itself and install the new compressor  hardware. Quarters were tight between the various other units and the surrounding walls, but getting in and around the unit was no problem whatsoever.

Before we could resupply the system with fresh refrigerant, a cleanse was in order. The outdoor unit was a considerable distance away from the office itself; about 100 feet of tubing and pipes connect them. Even after the refrigerant drain, there was still a significant buildup of moisture in those pipes. Mostly consisting of water, oil, and leftover droplets on refrigerant. Using a vacuum-style device hooked up to the lines, we began the process of removing these elements from the system, leaving it bone dry and free of any debris. Afterward, all that was left was to resupply the system with new refrigerant. Once the refrigerant was replaced, all that was left was to put the unit back together again and seal it up.  When it was all said and done, the job took about two hours and most of that time was spent emptying and refilling a large amount of refrigerant.

When you need air conditioner repair in Newburyport, North Shore is the only company to call. We get it done fast and we get it done right. Whether it’s commercial or residential, whether it’s a blown compressor or a bent fan, we can handle air conditioning repairs of all shapes and sizes.

Contact North Shore Home Energy Today for the Best in HVAC Work!

Read The Great Things That Your Neighbors Are Saying About NSHEC. air conditioner repair newburyport air condtioner repair newburyport air conditioner repairtioner repair

By nshec

Welcome To Cooling Season: What You Need to do to Prep Your AC for a Busy August

Welcome To Cooling Season: What You Need to do to Prep Your AC for a Busy August

  • Cooling
air conditioner repair

The days are longer, people around the office are taking vacations, and the temperature is constantly hitting the nineties. There’s no question about it: the dog days of summer are at our doorstep. And with the hottest weeks of the year ahead of us, it’s important to make sure your AC is up to the challenge. In order to make absolutely sure you’re set up for success this August, there are a few easy, DIY maintenance tasks you can carry out on your own at home.  If you need air conditioner repair, this is the way to find out. 

Safety is Key

Before you do anything for your system, you want to make sure that you keep yourself safe while you work. If you have an outdoor unit, you need to deactivate the power before doing ANYTHING. A fully-powered AC unit can be incredibly hazardous with spinning fans, live electricity and the like. Before doing anything related to prepping your AC, be sure to disconnect the power before doing anything. You can’t enjoy your summer from a hospital room.

Out With The Old, In With The New 

You don’t need to be an HVAC tech to understand that a dirty air filter means you’re going to have dirty air. After a long winter hibernation (and probably a summer of heavy use from last year), your air filters are going to be worn down, dirty, and minimally effective. Air filters are cheap, easy to find, and relatively easy to replace if you have a general idea of what you’re doing. Air filters are one of the first things to go after the winter and as such are one of the first things you should be replacing when the summer rolls around. 

 Consider Completely Cleaning Condenser Coils

Over the winter months, your condenser unit will accrue some debris: dirt, leaves, water, etc. Again, you don’t need to be an expert to know that such debris is not conducive to your AC’s performance. The condenser coil is one of the most important parts of your unit, which itself is the large metal box outside your house that has spinning fans. If the condenser was covered during the winter, there probably won’t be a massive amount of debris on it in the summer. If you didn’t cover it, consider doing so this fall. 

Make sure the fan is clear of any and all refuse. Next you need to open the box and check the coils. If there is anything on these coils, there’s a very particular set of things you need to do to make sure the system runs at peak efficiency

  • Remove the side and top panels or protective grilles from the condenser unit. Note: Double check to make certain the power to the condenser unit is turned off.
  • Lift off the top. The fan may be attached to it making it heavy. Note: Don’t tug any of the wires connected to the fan.
  • Using a refrigerator coil brush or a soft brush on a vacuum, gently clean the coils from the outside of the unit. After you clean the outside, vacuum coils from the inside. Note: Be careful not to bend the delicate fins or damage the coils

Check the Coolant Lines

The coolant lines essentially are what carries the cool air to your home from the condenser unit. If these lines are damaged in any way there’s no guarantee regarding the efficiency. These lines are usually covered with some kind of insulation to prevent the cool air from escaping the tubes before it gets into your home. You’re going to want to check this insulation thoroughly to see if any portion of it is compromised: any fraying or wearing needs to be addressed now because it’ll only get worse over time. 

Testing 1 2 3…

The final step of any start of season AC tune-up is to test out your system. Because at the end of the day, there are still plenty of things that could go wrong with your AC that you wouldn’t really have a way of knowing the damage of. A quick test run of your system for about an hour will be able to determine any nascent with you wouldn’t be able to determine at baseline.

Know When to Call in Backup

We love to see homeowners embrace the DIY spirit. IT shows initiative and genuine investment in their home’s HVAC system. That said, there are some things best left to professionals. If you notice any glaring issues during your DIY inspection, rather than trying to fix them yourself, its safest to call a licensed technician from North Shore Home Energy. Our team members have the skills, tools, and expertise to avoid damaging your air conditioner. Improper repairs can result in damage to your system or yourself, so when you need air conditioner repair, it’s best to call in the cavalry.

Contact North Shore Home Energy Today for the Best air conditioner repair in Amesbury and the surrounding area!

Read The Great Things That Your Neighbors Are Saying About NSHEC.

ac failure

By nshec

5 Warning Signs of an Impending AC Failure

5 Warning Signs of an Impending AC Failure

  • Cooling
AC failure

The last thing you want to hear on a hot summer’s day is the sputtering death rattle of an AC failure. Since that is something of a worst case scenario, you obviously want to avoid it. Thankfully, it’s rare for a system to just up and die out of absolutely nowhere; there are normally some easy to identify warning signs that the astute homeowner can hone in on and fix before they become full-fledged system killing issues. Here are a few of the more major things that’ll warn you of an AC failure in your future. 

Your AC is Blowing Hot Air or No Air at All

The whole purpose of your air conditioner is to deliver cool, temperate air into your home. Obviously if that is not happening there’s a red flag going off. It’s likely this could be the result of a bad capacitor, a filter clog, or depleted refrigerant. As much as we value the DIY spirit, these are issues best left to the pros. If you notice warm air when your AC is running, call a North Shore team member and we’ll get it sorted out.

You’re Getting Weird Smells Through Your Vents

You can probably count on one hand the situations where you want to smell a burning smell; “from your AC system” is not one of them. If you notice a smell like that, you’ve almost definitely got a fried wire, which is an increased risk of an electrical fire. But as long as we’re talking about the smells that come from ACs, equally as common as the burning smell is an oppressive, musty, and dank smell. Usually this is indicative of biological growth in your vents like mold and the like. This is a little less serious than an impending electrical fire, but obviously still requires your immediate attention. If something smells fishy, something is fishy.

Loud Clanging Noises Coming From Your Indoor Unit 

No matter what type of system you have, you should never hear it from the inside of your home.  Any scraping, clanging, or squealing should be like blaring warning sirens to you that something is not operating as intended in your system. These sounds are often due to something falling out of place or just needing some extra lubrication. Of all the issues your AC may be facing, you want to act on these most quickly. Issues like these could quickly escalate from a quick fix to a massively costly repair, if not the total death of your system. 

You’re Getting Higher Utility Bills 

When a system is on its last legs, the #1 most common trait is a reduced efficiency of the system. Reduced efficiency means lower output for the same amount of time, which ultimately translates for high bills for less actual cooling. This can be due to any number of issues too numerous to list in an article like this, but it is always a sign that a professional touch is necessary to get your cooling efforts back under control. Nobody likes higher bills and in this economy you want to be saving as much money as you possibly can. 

Moisture In and Around Your Unit 

When is a leak ever a good sign of anything? Pretty much never, and the same goes for your air conditioner. When you go outside and notice moisture and water around the base of your condenser unit, that’s a pretty airtight way to find out that something is not right. 

Contact North Shore Home Energy Today for the Best AC service  in Amesbury and the surrounding area!

Read The Great Things That Your Neighbors Are Saying About NSHEC.

ac failure

By nshec

5 Fast, Easy Tips For Ductless AC Maintenance

5 Fast, Easy Tips For Ductless AC Maintenance

  • Cooling
ductless AC maintenance

A ductless AC is extremely handy for homeowners looking for a more focused cooling effort in their home. Whether it’s a home office, a living room, bedroom, ductless ACs are fantastic for cooling the most-used areas of your abode with minimal costs to your overall energy bill. With some proper maintenance and TLC, your ductless AC can and will serve you well for years on end. But you need to know how to take care of it.

Keep the Exterior Unit Clean

As you’re probably aware, your ductless unit is comprised of the interior unit responsible for blowing the cool air into your home and the exterior unit where the air comes from. As it’s outside, the latter component is exposed to the elements on a regular basis. Rain, snow, sleet, animals, you name it your outdoor unit has to deal with it. An occasional sweeping of it, clearing it of debris, dust, and accumulated dirt. While you may not think so, keeping the exterior unit clean saves you and HVAC techs a huge amount of headache later on when you need more in-depth service.

Check the Filters

Filters prevent harmful, nasty particles from flowing through your HVAC systems. Things like dust, pet dander and even bacteria and viruses get caught in the filter and stop circulating in your home. That’s only if you have a functioning filter, however. Old filters get clogged up with gunk and refuse over time and stop working, allowing all manner of particles to float through your home.  Thankfully, replacing your filters is a pretty easy process you can do with even a small amount of HVAC know-how. Depending on your unit, you may even be able to clean the filter you have with a dry cloth. The intrepid homeowner is going to want to check their air filters every month and a half or so.

Clear the Area Around the Interior Unit

While not nearly as bulky as other varieties of air conditioner, ductless ACs need some room to breathe.  The interior unit needs a good amount of wall space to operate to the best of its ability. About four feet in every direction (aside from the wall itself) should be sufficient space to ensure optimal cooling. Make sure things like book cases, wall-mounted televisions, sofas, and framed photos are well out of the way from your AC to ensure nothing goes awry.

A Clean Condenser is a Functional Condenser

You may think internal cleaning is beyond what you’re capable of as a homeowner. So long as you know what you’re doing and are safe, personal cleaning of your ductless unit can be an extremely beneficial way to increase its lifespan and make it run smoother longer. Before you do anything, make sure the unit is completely powered down to avoid damaging components, or worse, injuring yourself. Once the condenser is powered down, you can use your garden hose (at low pressure) to clean off any accumulated dirt and debris from the unit. If left unchecked, this can clog up your fans and impede your AC’s ability to function properly. Once the water is dry, make sure the fins did not bend (they can be realigned with a simple alignment comb) and dust off any remaining matter by hand.

Call a Professional For a Regular Tune-up

We here at North Shore are all for the DIY spirit. But some things do require a professional touch. Calling out an HVAC tech every once in a while for a regularly scheduled inspection will help identify and isolate issues as they appear and before they snowball out of control. A visit from your friendly neighborhood HVAC professional every so often can save you a lot of money and headache down the line.

Contact North Shore Home Energy Today for the Best in HVAC Work!

Read The Great Things That Your Neighbors Are Saying About NSHEC.

ductless AC maintenance  ductless ac maintenance 

By nshec

10 Solutions for Air Leak Repair

10 Solutions for Air Leak Repair

  • Cooling
air leak repair

You wouldn’t run the heat in the house with the windows open in the winter, would you? Of course not! Unfortunately, when you have multiple air leaks in the house, this is the exact effect happening within your home. The warm, expensive indoor air is permitted to escape the house, while chilly, winter outdoor air is allowed into the home. These air leaks can be found in many areas of the home. The attic, windows, doors, and basement are prime places for the average homeowner to lose warm air to the outdoors. You need air leak repair and you need it fast. 

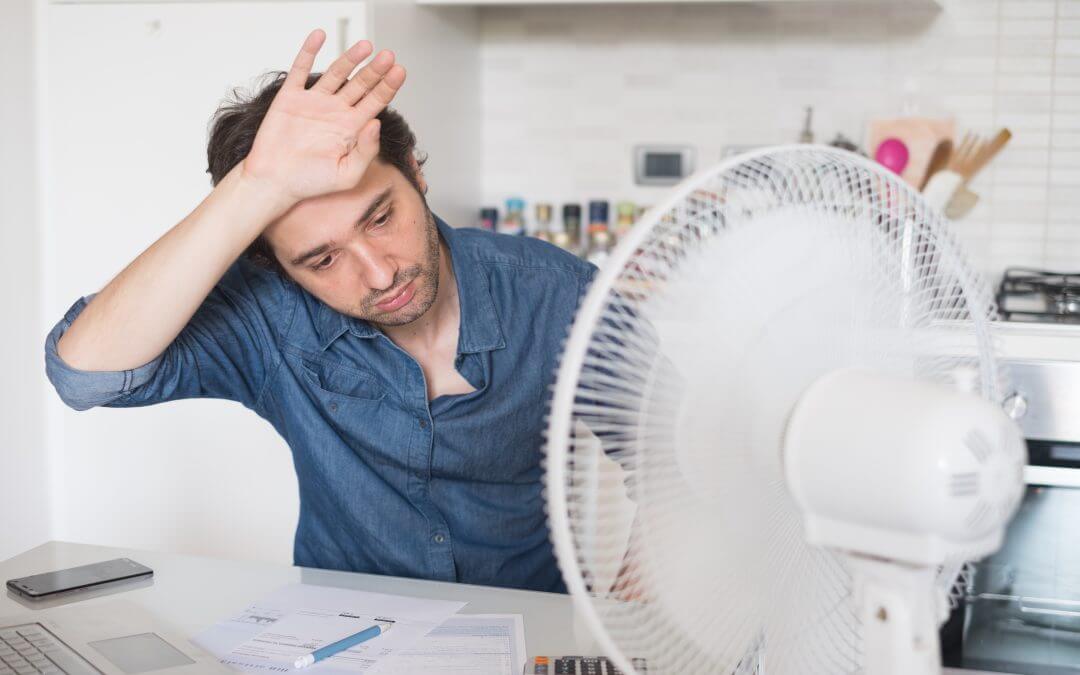
]If the weather in your area is beginning to get a little chilly, you may want to begin some yearly maintenance tasks to keep the cold air out of your home. If the warm air leaks outdoors, your heating unit will have to work overtime to try to keep the house comfortable. This means more wear and tear on your unit, and possibly costly repairs in the future. Additionally, you will feel chillier in the house and your heating bills will skyrocket if too much cold air is able to penetrate your home. Most of the following ten repairs are fairly inexpensive and simple to do, requiring little more than a screwdriver, a few easily found items, and a sharp pair of eyes. If you can’t afford the big tasks, like new windows or a complete insulation replacement in the attic, do what you can in other areas of the house. Tackle a few of these jobs each weekend, and you’ll be surprised at how much cozier your home is this winter.

1. Caulk and weatherstrip doors and windows that leak air.

You know what it’s like to stand in front of the door with cold air blowing on your toes from the crack under the door. Seal those door jambs and thresholds with weatherstripping. Also, pass your hand around the window frames and door frames. If you feel cool air, caulk the cracks to keep out the air

2. Install foam gaskets behind outlets and switch plates on the wall.

This is super easy to do, but it does take a little bit of time.  For just a few dollars, you can buy a large packet of foam gaskets to insulate behind your light switches and electrical outlets. Simply remove the center screw that holds in the faceplate, place the foam gasket in place, and replace the faceplate and screw. 

3. Install foam sealants on larger gaps on windows.

If you have larger cracks and gaps in the framing around your windows and doors, you may be better off using expanding foam to seal them up. Use this stuff carefully and always wear gloves while applying it.

4. Inspect insulation for mold and leaks.

When checking out the neglected corners of your house for air leaks, pay attention to the status of your insulation. If you have moldy insulation, you should replace it. Mold can make people very sick, and it’s an indication of dampness that can lead to rotten wood. Make sure there are no gaps or leaks in your insulation .

5. Cover or replace single-pane windows. If you seek replacement, install efficient double-pane windows instead.

While it can be expensive to replace the windows in your home, installing efficient double paned windows can save you big money over the years and keep your home more comfortable. The air space between double paned windows serves as insulation to allow light in, but keep cold air outside. If you can’t afford new windows at this time, using a window insulation kit or heavy insulated drapes can help keep winter drafts at bay.

6. Cover the kitchen exhaust fan when you are not using it.

The kitchen exhaust is like a huge chimney and can vent your indoor air if you don’t pay attention to it. You can cover this opening with a dishtowel using Velcro type attachments. However, it is very important to not forget to remove it before you turn on the fan. Also, don’t make the mistake of shoving an old rag in the opening. If someone doesn’t know about it or forgets to remove it before turning on the fan, the rag can be sucked up into the exhaust fan, completely ruining the appliance.

7. Seal air leaks around furnaces, chimneys, or water heater vents with fire resistant materials.

Be sure that when you insulate and seal around potential fire hazards that you use fire retardant materials. Places like chimneys, furnaces, and hot water heater vents can get very hot. Flammable materials could ignite in these places.

8. Check your dryer vent for any blockage.

While you’re checking around the dryer vent, you may want to make a quick inspection of the dryer vent. If the dryer vent is blocked this is a fire risk.. Also, your dryer will be very inefficient without maximum airflow.

9. Check attics, basements, and crawl spaces for air leaks before the winter begins.

Look around in the frequently overlooked areas of the home for cold air leaks. Attics, basements, and crawl spaces can be places where cool air can enter the home. Close the vents to crawl spaces to keep cool air out. Shine a flashlight in dim corners to ensure that rodents or other critters haven’t chewed holes in unexpected places. Seal up cracks with putty or caulk, and make sure the insulation in the attic hasn’t been disturbed.

10. Seal air leaks around any plumbing or electrical fixtures coming from the walls, floor, and ceiling. 

Any time an electrical or plumbing fixture enters the house, there’s a chance that the opening through the wall isn’t sealed well. Double check these areas, and use foam insulation or caulk to close up holes where cold air can invade. Look behind toilets, under sinks, where the refrigerator water line enters the house, and where the dryer vent exhausts to the outdoors.

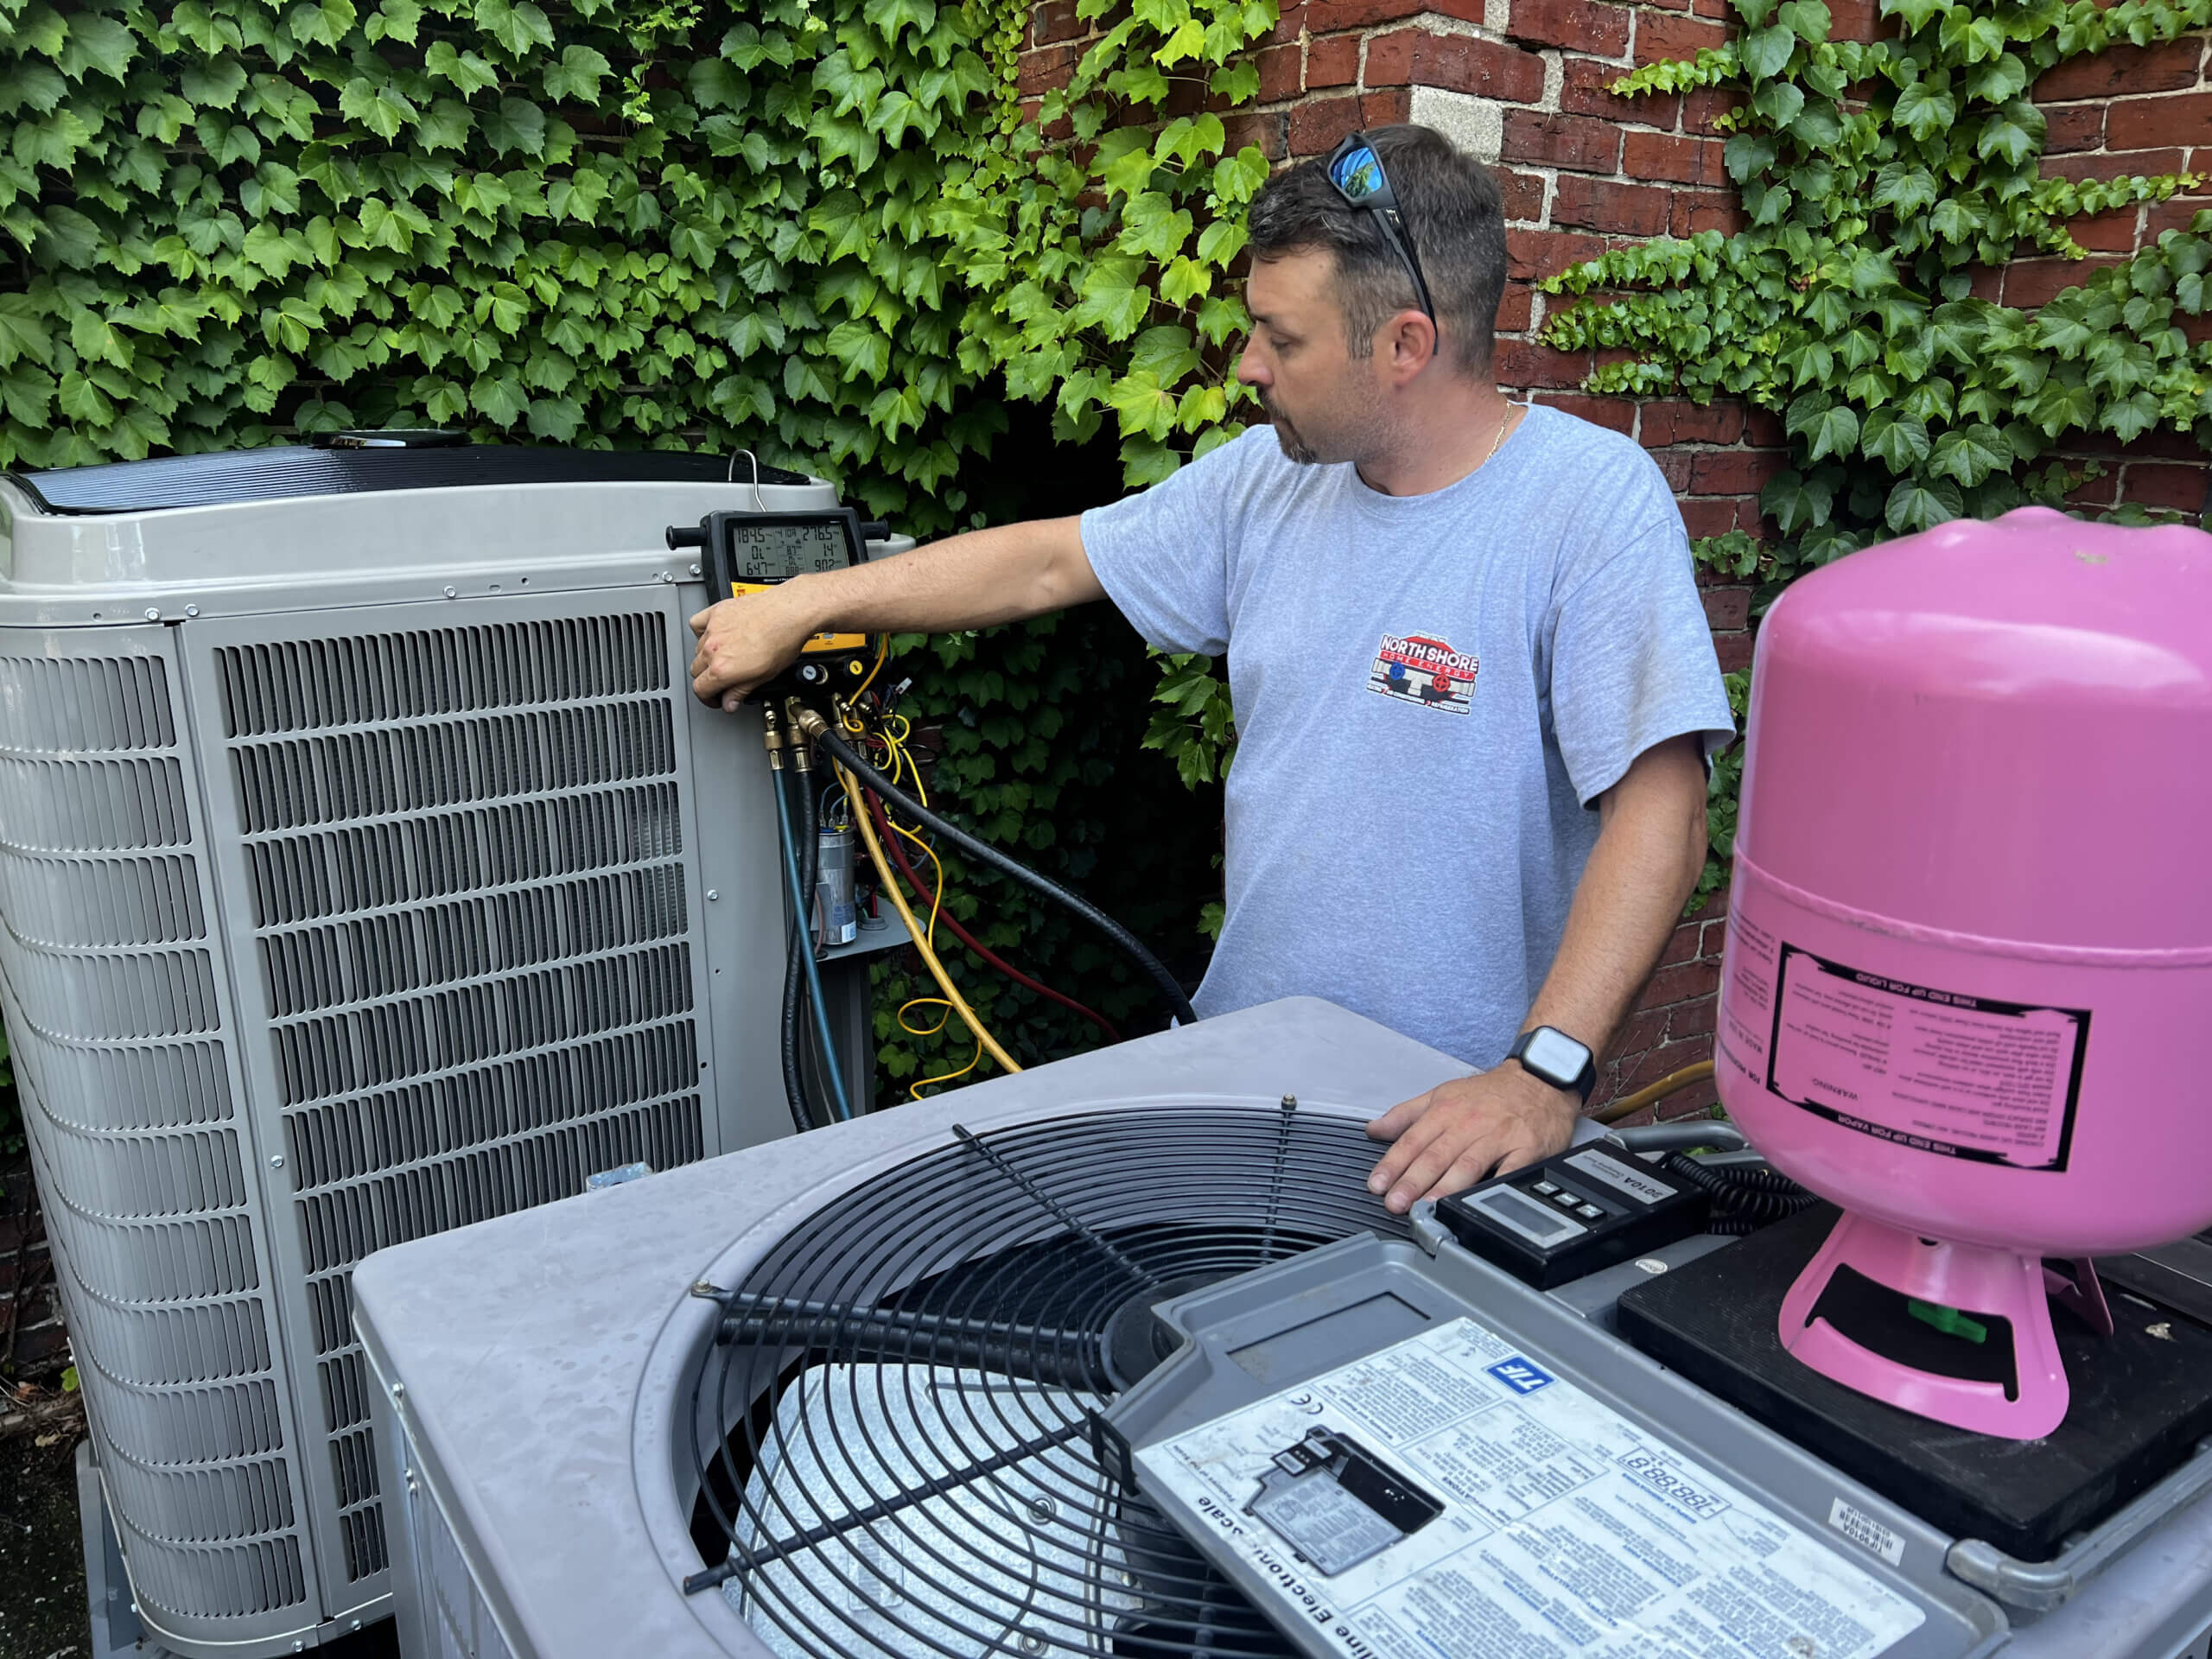
For More Information on Air Leak Repair, Call NSHEC Today!

Contact North Shore Home Energy Today for the Best in HVAC Work!

Check Out Our Current Specials!

Read The Great Things That Your Neighbors Are Saying About NSHEC.

By nshec

A Comprehensive Guide to Duct Cleaning

A Comprehensive Guide to Duct Cleaning

  • Cooling
  • Heating
duct cleaning

Does your home have an HVAC system? Then it’s important to perform regular duct cleaning to ensure the air flow into your home is as clean as possible. The system’s vents will get dusty over time, since dust particles are naturally drawn into the duct along with the air. By cleaning them thoroughly, you can reduce the amount of unwanted particulate in your household’s airflow. In addition, by keeping your air ducts clean, your HVAC system will be more energy-efficient, which will prevent your energy bills from rising. 

How to clean your air ducts yourself

Fortunately, you can do routine duct cleaning yourself. You’ll need a Phillips screwdriver; household cleaner; a cloth; warm, soapy water (optional); microfiber cleaning cloths; and a vacuum cleaner (preferably one with a HEPA filter) with a dust brush. You’ll also need protective eyeglasses, a face mask, and sturdy rubber gloves.

  • Turn off your HVAC system. Before starting, turn off your HVAC system. The last thing you want is for air to be blowing onto you while you’re trying to remove dust and debris from the vent. 
  • Remove the vent cover. Wall vent covers need to be unscrewed. Do this carefully to avoid damaging the wall. Some floor vents can simply be lifted up, while others also need to be unscrewed. 
  • Clean the vent cover. There’s likely dust caught in the vent cover; plus, it will feel greasy to the touch. You can clean it with a regular household cleaner and a cloth, or you can wash it in warm water and dish detergent. Always make sure to dry it carefully. 
  • If you have vent register filters, clean them. Some vents have filters installed to catch pet hairs or other things. If your vents have filters, remove the debris that’s built up, and clean them.
  • Vacuum the inside of the vent. Attach the dust brush to the vacuum cleaner and reach as far as you can inside the vent. Vacuum up all visible dust and debris.
  • Wipe the inside of the vent. Using a microfiber cleaning cloth and the household cleaner, wipe the inside of the vent as far as you can reach. 
  • Re-attach the vent cover. Carefully replace the vent cover. If it’s attached with screws, make sure they’re firmly screwed in place. 
  • Clean your HVAC system’s filter. To get the best performance from your HVAC and ensure the best indoor air quality, clean or replace your HVAC’s filter when you’ve finished cleaning your vents. 

Note that if you find any signs of mold infestations, pests, or damage to the inside of the ducts, you’re best advised to call your HVAC expert right away as these are issues you shouldn’t address yourself. 

Why you should still schedule professional duct cleaning

Keep in mind that it’s always a good idea to schedule professional duct cleaning and maintenance at least once a year. That way, your HVAC specialist can remove all dust and debris you might not be able to reach and at the same time, repair any damage that might be causing air leaks. And in the long run, whatever time, effort, and money you spend on duct cleaning is an investment in better indoor air quality—and that’s better for your and your family’s health. 

For More Information on Generator Accessories, Call NSHEC Today!

Contact North Shore Home Energy Today for the Best in Electrical Work!

Check Out Our Current Specials!

Read The Great Things That Your Neighbors Are Saying About NSHEC.

By nshec

What You Need to Know About Electrical Code Compliance

What You Need to Know About Electrical Code Compliance

  • Electrical
  • Miscellaneous
electrical code

If you’re upgrading your home’s electrical system or about to start a remodeling project, then it’s important to be aware of electrical code compliance requirements. Electrical codes are specifically designed to set a safety standard that minimizes the chances of injuries and property damage due to electrical shock, faults, or fires. In other words: While complying with electrical codes might seem like a hassle, it’s an investment in your and your family’s safety.

Of course, due to increased household power consumption and technological advancements, homes today have to meet a different set of requirements than homes that were built 20, 30, or 40 years ago. And although you won’t be required to upgrade your home’s old wiring just because it’s old, it’s a good idea to do it because it’s much, much safer. 

Once you start working on your home’s electrical system, it’s good to have a general overview of all applicable requirements. The following brief overview will provide you with a basic understanding of electrical code compliance. 

National and local codes

  • National codes: The National Electrical Code (NEC) describes all national codes for both commercial and residential wiring. 
  • Local codes: In addition to the NEC, there are also local codes that are determined by local building departments. Note that local codes can vary significantly between different municipalities.

General code requirements

  • Circuits: Existing circuits cannot be overloaded by the addition of a new service. Residential buildings generally have 120 volt circuits at 15 amps, with kitchen and utility areas having 20 amps. 
  • Wires: 15 amp circuits require 14-gauge wire, and 20 amp circuits require 12-gauge wire. 
  • Service panels: Service panels usually don’t require upgrading unless you’re adding a new circuit.
  • Cable: Non-metallic cable can generally be used unless the cable will be exposed, in which case conduit or armored cable will probably be needed. 
  • Fixtures, appliances, and receptacles: All fixtures, appliances, receptacles, and switches must be safely grounded. 
  • Boxes: Most municipalities allow plastic boxes, although there are some local codes that require metal boxes. 

Additional code requirements

In addition, there are also highly detailed electrical code requirements for each room in the home, as well as the home’s exterior. For example, pull chains for light activation are not allowed in many rooms including the bedroom, living room, and dining room. A kitchen with several appliances such as a dishwasher, garbage disposal, stove, refrigerator, and microwave may require those appliances to be on their own individual circuits. In the bathroom, all receptacles must be GFCI-protected and light fixtures must be moisture-proof. Exterior electrical receptacles and lighting must all have waterproof covers and fittings, and cable may not be exposed.

It should be clear that ensuring compliance with national and local electrical codes is both complicated and necessary. That’s why it’s always best to hire a qualified local electrician in the event your electrical system needs upgrading or expanding. He or she will be able to advise you on your best options and make sure that all the work that’s done is up to code. 

For More Information on All Things Electrical, Call NSHEC Today!

Contact North Shore Home Energy Today for the Best in Electrical Work!

Check Out Our Current Specials!

Read The Great Things That Your Neighbors Are Saying About NSHEC.

gfci installation gfci installation

By nshec

Best Ways to Utilize Outdoor Lighting 

Best Ways to Utilize Outdoor Lighting 

  • Electrical
outdoor lighting

As we come up on the warmer months, one thing is certain: we’re going to be spending more time outdoors enjoying those idyllic summer nights. But it’s hard to enjoy those summer nights when you can hardly see anything. Proper outdoor lighting is key for maintaining a comfortable, enjoyable environment on your property after the sun goes down. 

But just like any home improvement project, there are right and wrong ways to utilize outdoor lighting. That’s why we’ve compiled a handy list of ways to get the most out of your outdoor lighting needs. 

Security Lighting 

More function over form, security lighting is to deter unwanted wildlife from your property and discourage would-be burglars. These types of lights are most effective when mounted high up on the side of a house or on a corner of a garage roof, and directed in such a way that the light would illuminate the furthest reaches of the property. 

These are most often motion-sensor lights that activate for a short time upon sensing motion within their given area, alerting you to any potential problems as they happen and saving money by not having extremely bright lights on at all times. 

Deck Lighting

Plan on spending a lot of time on the deck? You might consider looking into brightening it up. It’s typically standard voltage and acts as a way to illuminate the deck/steps to avoid falling in the dark. Strategically placed lights can double as accents for nearby garden fixtures.

LED deck lights are most effective when installed around the perimeter of the deck, along the stair railings, and in various high-traffic spots on the deck itself. 

Path Lights 

You went to the trouble of installing a beautiful stone pathway around your property. Show it off with some literal spotlighting. Path lights are exactly what they sound like: small plastic fixtures placed along a walkway that house LED lights. 

When installed along both sides of the walkway in question, path lights become a fashionable and functional addition to your home. They’re most often divided into two categories: low voltage and solar-powered. For your time and money, solar-powered ones may be the way to go. They charge during the day and are the embodiment of “set and forget.”

String Lighting 

An all-time classic. These quaint little strings of bulbs provide a warm, intimate environment that’s perfect for entertaining company or even just kicking back in the yard on a warm summer evening. And, when compared to other options, they’re extremely easy to put up and take down whenever you need them. String them up over your desired area and take them down at your convenience; no installation needed. 

There’s a lot of options out there for string lighting, but for outdoor solutions, you want to make sure your chosen product is waterproof; you’d hate for unexpected bad weather to torpedo your lights. Again, solar options are available that eliminate the need for long, unlightly extension cords draped across your yard.

Up-Lighting 

More commonly referred to as spot lighting, up-lights are placed in the ground and directed up to direct attention to certain parts of your home, commonly plants, the deck, trees, the house itself, and more. 

Lighting taller objects like trees and the like should be done with bullet-shaped lights staked into the ground. Their adjustable head sits above ground and casts light over a longer distance, making the subject much more in-focus. 

Still hungry for more information on how to light up your property? Give us a call at North Shore. We’ve been Newburyport’s favorite provider for over 25 years. No one knows how to light up the night quite like us! Call today!

For More Information on All Things Electrical Safety, Call NSHEC Today!

Contact North Shore Home Energy Today for the Best Electrical service  in Amesbury and the surrounding area!

Check Out Our Current Specials!

Read The Great Things That Your Neighbors Are Saying About NSHEC.

By nshec